It is easy to add printers in Manjaro. Full instructions on installing the necessary software are provided in the Printing guide.
Printing is undertaken through the use of CUPS (previously an acronym for Common Unix Printing System).
This is a popular open source printing system used in most Linux distributions due to its ease of use.

Manjaro Guide: Adding Printing Capabilities.
First, install the manjaro-printer package using your favorite package manager or by using the command:
user $ pamac install manjaro-printerCOPY TO CLIPBOARD
Note that you may need to add yourself to the sys group. To do this, use the command:
user $ sudo gpasswd -a your_username sysCOPY TO CLIPBOARD
Once the necessary software has been installed, to start and enable printing capabilities, enter the following commands:
user $ sudo systemctl enable --now cups.serviceCOPY TO CLIPBOARD
user $ sudo systemctl enable --now cups.socketCOPY TO CLIPBOARD
user $ sudo systemctl enable --now cups.pathCOPY TO CLIPBOARD
If easy detection of network printers is needed (not all editions have avahi installed and running) the following service can be installed & started:
user $ pamac install avahiCOPY TO CLIPBOARD
user $ sudo systemctl enable --now avahi-daemon.serviceCOPY TO CLIPBOARD
At this point you should be ready to configure a printer.
Managing Printers with HP Device Manager.

If have a printer made by HP, the easiest way to manage it is with the HP Device Manager(hp-toolbox). It is wizard based and handles automatic detection and setup of your printer locally or across a network.
You can run it by selecting HP Device Manager from the menu or with the command hp-toolbox.
Managing Printers with CUPS.
Another way to add a printer is to use CUPS directly. Assuming CUPS has been enabled (and started), upon connecting a printer, it should be automatically detected and configured for you to use. The process itself should take only about a minute. However, if the automatic detection and configuration doesn't seem to work, then your printer can be manually set up with relative ease. There are two methods to do so:
Webpage Interface: CUPS provides an webpage interface that will open in your default web browser to configure your printer. This interface also provides access to further information about CUPS, as well as on-line help.
Desktop Interface: A standard desktop wizard is also available, which should be instantly familiar to those who have configured a printer before, whether using Linux or another operating system such as windows. Note that you may need to install your DE's printer config package using your favorite package manager or by using one of the following commands.
GNOME:
user $ pamac install system-config-printerCOPY TO CLIPBOARD
KDE:
user $ pamac install print-managerCOPY TO CLIPBOARD
CUPS Webpage Interface.
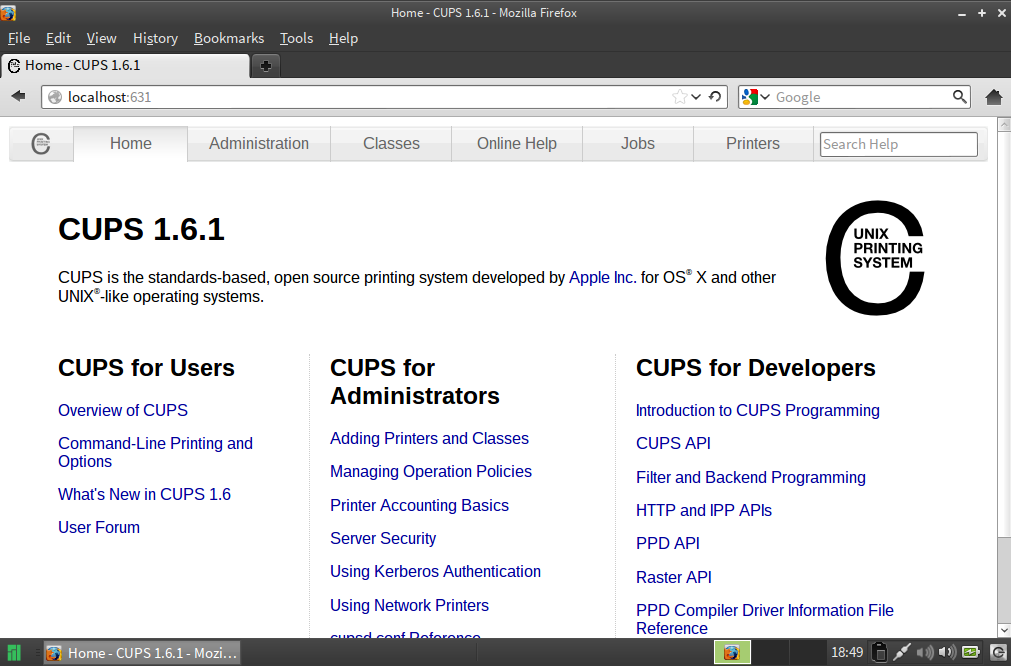
To access the webpage interface, select Manage Printing from your desktop menu. The interface will automatically open in your default web browser. Alternatively, you can also open your choice of web browser, and enter the following into the address bar:
http://localhost:631/
Tip.
You can also just click the address provided above to access the CUPS web interface!
CUPS Desktop Interface Part 1: The Automatic Method.

1. Add your printer. Ensuring that your printer is properly connected and switched on, select Print Settings from your desktop menu. Once the Print Settings window has opened, click + add to add a new printer.

2. Select your printer name. Once the New Printer window has opened, under the Select Device heading, find the name of your printer and click to highlight it. If your printer is listed more than once, check the description on the right to ensure your selection is not for another function, such as scanning or faxing.
3. Select your printer connection. Under the Connection heading, click to highlight your printer's connection method. As illustrated, this will usually always be 'USB'.

4. Install your printer driver. Once your printer name and connection have been highlighted, click the Forward button and CUPS will automatically search for the available drivers for it. In most instances, once the appropriate driver has been found it will be automatically installed, and the set-up process will have completed.
Otherwise, if the process did not succeed, it will be necessary to click the forward button again in order chose the appropriate driver yourself.
CUPS will usually help you out by showing recommended choices for each step.
1. Select your printer make. If the Automatic method did not automatically find and install an appropriate driver for your printer, then clicking the forward button again will present the Chose Driver window. The first step is to select the make of your printer. As illustrated, as an HP printer is to be installed, the recommended choice of HP has been highlighted by clicking on it.
Once your make of printer has been highlighted, click the forward button to proceed to the next step
2. Select your printer model. Under the left-heading models, select the specific model of your printer. As illustrated, as the printer model to be installed in this instance is a Model 2210, the recommended choice of PSC 2210 has been highlighted by clicking on it.
3. Select your printer driver. At last! Under the right-heading Drivers, select the appropriate driver for your printer. As illustrated, the recommended printer driver has been clicked to highlight it. It is advised that you also select whatever driver is recommended for you.
Once your printer model and driver have been highlighted, click the forward button to proceed to the next step.
4. Choose your printer name, description (optional), and location (optional). Unless you want to change something, it will not be necessary to make any amendments here.
If you are happy with the information provided - or have made the desired changes - click the Apply button to complete the process.
5. Configure your printer. Having clicked the Apply button in the previous step, your printer's properties will be displayed. By selecting the categories on the right-hand side, you can view information and amend your printer's settings if you wish. The standard settings will be fine for most people, so unless you have something specific in mind, there will be nothing you need to do.
6. Test your printer. Although optional, this step is highly recommended! Click the Print Test Page button to ensure that your printer is set up and working properly.
Tip
Your printer properties can be accessed - and changed - at any time by selecting the Print Settings option from your menu, and then double-clicking your printer's icon.
That's it! Now click the OK button to close the window and start using your printer.
Modifying an Installed Printer
To configure an installed printer at any time:
1. select the Print Settings option from your desktop menu, and
2. double-click the printer's icon.
The configuration window will appear. Select any of the categories on the left-hand side of the window to view the appropriate information and make any desired changes. Once complete, click the Apply and then OK buttons to confirm and save your changes, or click the Cancel button to close the window without making any changes.
Removing an Installed Printer.
If for any reason you wish to remove a printer (e.g. to reinstall it), select the Print Settings option from your menu, right-click your printer's icon, and then select delete. You will need to confirm your decision to delete the printer, as well as enter your password to complete the task.
If for any reason you wish to disable CUPS (e.g. in order to use an alternative printing system), open your terminal and enter the following command:
user $ sudo systemctl disable --now cups.serviceCOPY TO CLIPBOARD
user $ sudo systemctl disable --now cups.socketCOPY TO CLIPBOARD
user $ sudo systemctl disable --now cups.pathCOPY TO CLIPBOARD


Manjaro is an up-and-coming Linux distribution that has recently surpassed some of the more popular and battle-scarred distributions like Ubuntu, Fedora, Mint, and others (at least according to DistroWatch).
ReplyDeleteAfter installing Manjaro, you'll definitely want to check for updates and familiarize yourself with the process for doing so. We have written a guide to updating Manjaro that will show you the GUI and command line methods to keep your system up to date. If you plan to compile your own Linux kernel modules, you should also learn about Installing Manjaro Kernel Headers.
Delete