Complete tutorial explaining step by step how to install the FreeBSD operating system.
Guide containing detailed and clear information on how to perform the step-by-step installation of the FreeBSD operating system. The video referenced here serves as a starting point, but it is clarified that this guide should be the one you refer to when clarifying any questions.
Where to download FreeBSD
Although the FreeBSD site may contain some sections in Spanish, I usually find them somewhat outdated, so I recommend going directly to the download page of the English website: https://www.freebsd.org/where/
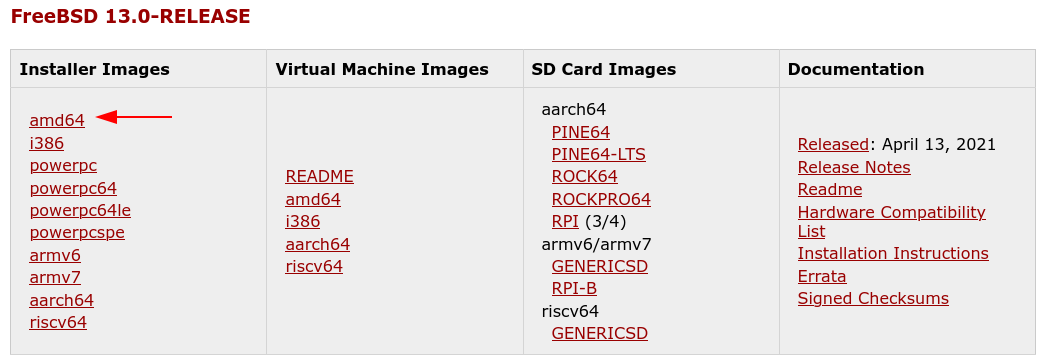
There you can see the different versions and architectures available for download: the installer, a virtual machine image, or an SD image for devices like the Raspberry Pi and similar.
In our example and to perform the installation step by step, we will download and install FreeBSD 13.0-RELEASE for the amd64 processor architecture :
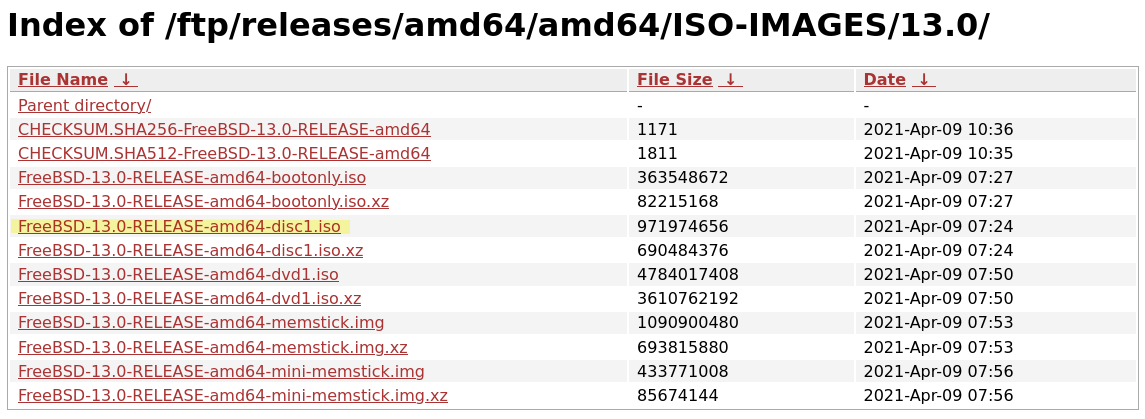
Then we select the file we want to install. For our example, the ISO image disc1:
Alternatively, you can download the desired version via torrents . Here'sthe list of magnet links.
Installer start screen
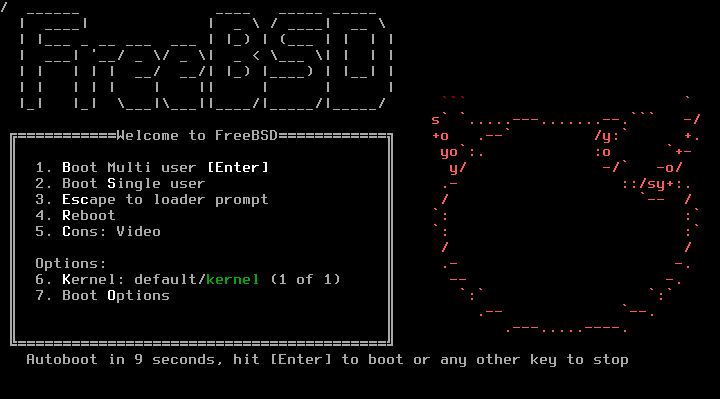
When we start the computer or virtual machine by selecting the file we previously downloaded as the boot medium (CD or USB if you're doing it physically), we will find information similar to that shown in the previous image.
At this point, we've seen that the boot loader has executed correctly. This "initializer" will also be useful in cases where we need to recover the system, so it's not a bad idea to keep one.
We press the Enter key , or after 10 seconds, the system installer ( bsdinstall ) starts by default.
Installer Welcome
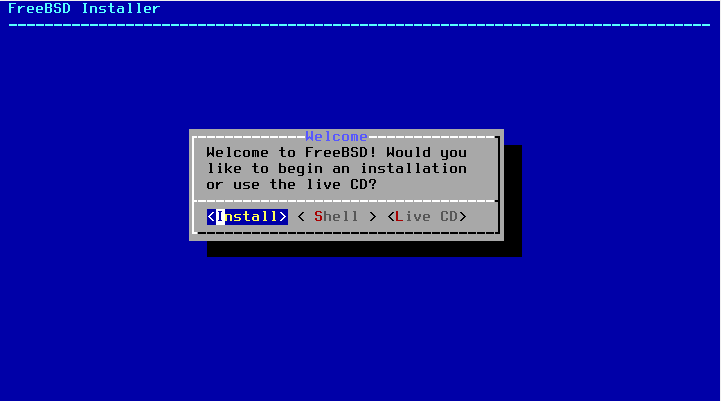
Here it will be enough to press the Enter key while the Install option is selected.
Select the keyboard layout

We can select the keyboard layout to make it much easier to enter characters like periods, accents, the letter ñ, and others. You can search the list for the layout for the keyboard you're using.
I'm going to assume you're using a Spanish keyboard, but alternative layouts like Dvorak are also available.
You can use the keyboard navigation keys (arrows) to scroll through the list and then press the space bar to select the desired keyboard layout.
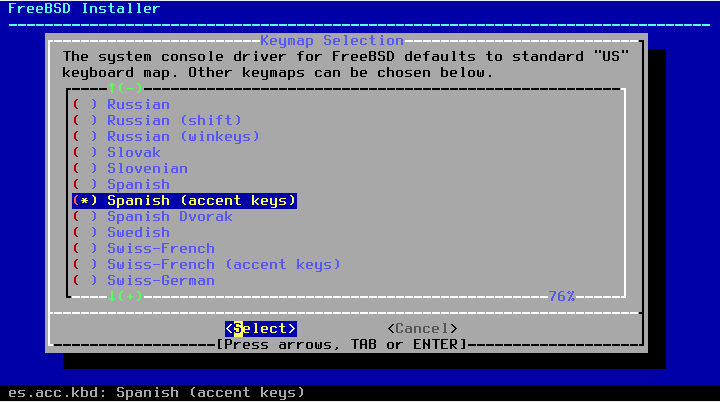
Once selected, you have the option to test the settings before continuing.
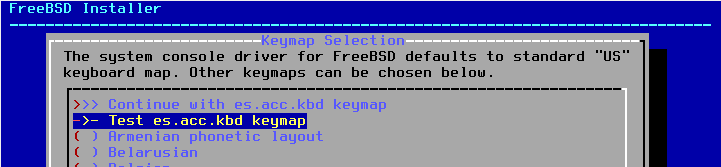
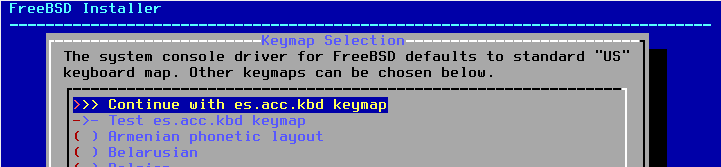
Or continue the process using the selected keyboard layout:
Assign team name
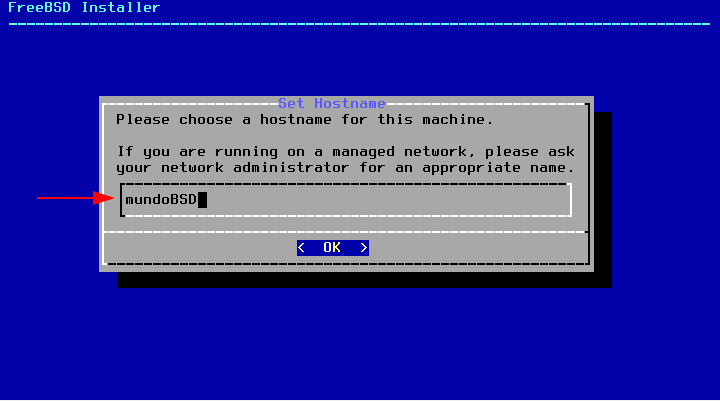
We write the name of the computer with which we will identify it. In our example, mundoBSD .
Note: If you're installing equipment on a domain-based network, in a data center, or in the cloud, it's a good idea to enter the FQN (fully qualified name) of this server here. Example: www.mundobsd.com
Select optional components to install
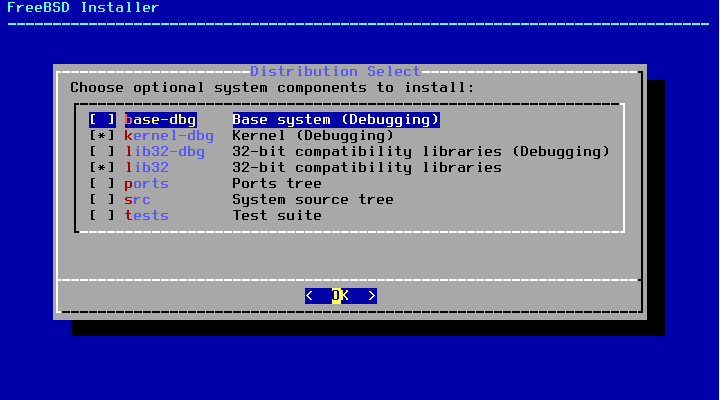
Unless you plan to do actual operating system development, the options ending in -dbg are not necessary, nor is the tests option . This leaves us with three options:
lib32 : Select this option if you need to support older software that uses libraries compiled for 32-bit architecture (only available for 64-bit installations).
ports : Select this option if you want to have a collection of Makefiles on your computer, hosted in the /usr/ports/default directory. There, you'll find another set of directories categorized by third-party applications. This will help you automate the download, compilation, and installation of third-party software.
For example, if you wanted to compile and install the Postgresql database manager version 13, you would simply go to /usr/ports/databases/postgresql13-server/and run make install clean.
Some people prefer this method for compiling and installing third-party applications on the system because it gives them more control; however, it's not the only way, as the system includes the pkgutility to install/uninstall binaries. Generally speaking, it's advisable to use one or the other strategy for installing applications, not both.
src : If you select this option , you'll have a copy of the operating system source code, both the kernel and userland , in the directory . This will be useful if you want to compile the operating system with your own optimizations or customizations./usr/src/
In case you decide to choose ports and src , there are tools to synchronize and keep these directories up to date, either using portsnapfor ports or for gitboth cases.
Note: The installer doesn't check for available disk space, so if you selected [unknown], portskeep in mind that this directory may be taking up around 500 MB. If you selected [unknown] src, this directory may be taking up around 1 GB, and you'll need an additional 5 GB when you compile the operating system.
Partition disk(s)
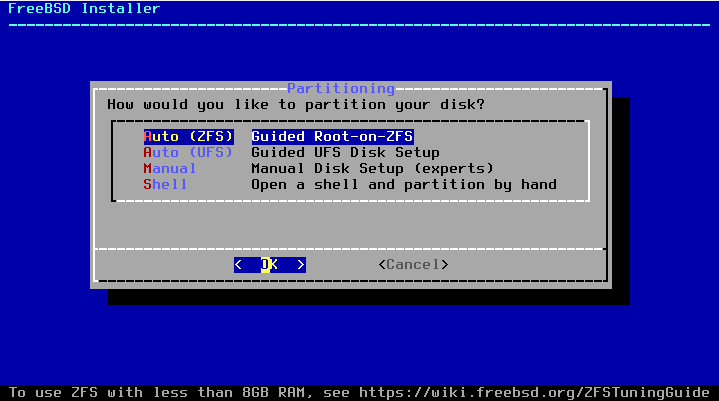
If you want to use the entire hard drive and let the installer decide how to partition it, use one of the Auto options . If you know what you're doing and prefer to do it the geeky way, you have the Manual or Shell options .
We have two file systems at our disposal: ZFSor UFS (Unix file system) . UFS has traditionally been used in FreeBSD and has very good performance and excellent features. ZFS became part of the operating system in 2007; it's both a file system and a volume manager, a bit newer in comparison, and has some features that can be very well utilized.
If you want a foolproof file system with extra features, ZFS is definitely the file system to use. It won't let you down.
Note: It is recommended to use ZFS on computers with at least 1GB of RAM; 8GB is suggested as a minimum.
For the purposes of this guide (and as a recommendation), I use the Auto (ZFS) option.
ZFS Configuration

On this screen, we can configure the options for ZFS . Since I'm considering this guide a basic one, we'll leave everything as is and only configure one option: Pool Type/Disks .
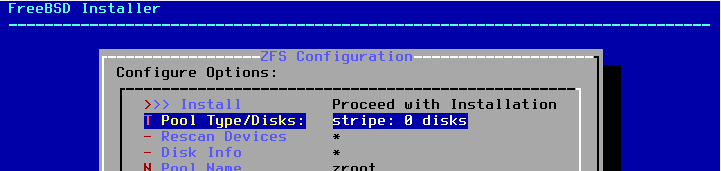
Once we press the Enter key while in this option, we will find something like this:
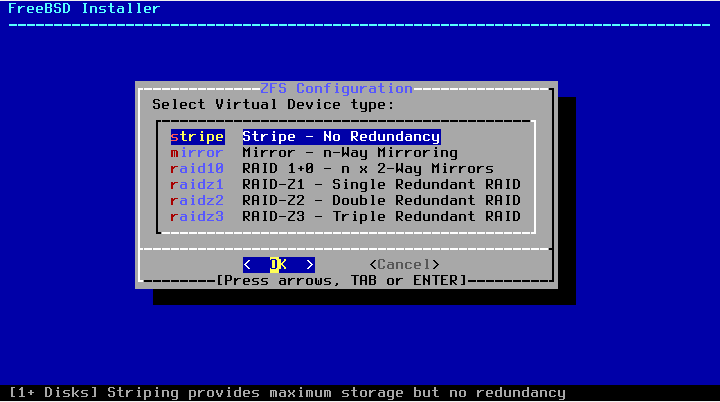
And here we are going to select stripe - No redundancy , and press the Enter key again :
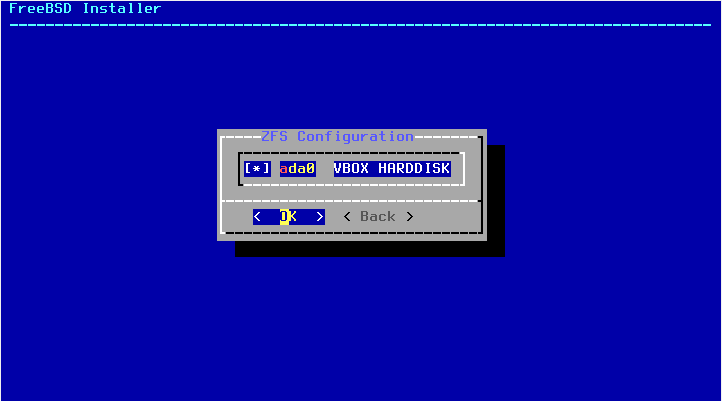
And we make sure to select the hard drive on which we want to install our system and then press the Enter key again to confirm our selection.
We should now be back at our ZFS configuration screen and should see that under the Pool Type/Disks option , it now says stripe: 1 disk , like this:

We make sure that the Install option is selected and press the Enter key again to confirm.
Note: Unless the computer where you are installing the system is very old, it is recommended to always set the GPT (UEFI)configuration to the Partition Scheme option .
Finally, a confirmation message will appear to proceed with the complete formatting of the selected disk (all data, if any, will be erased):
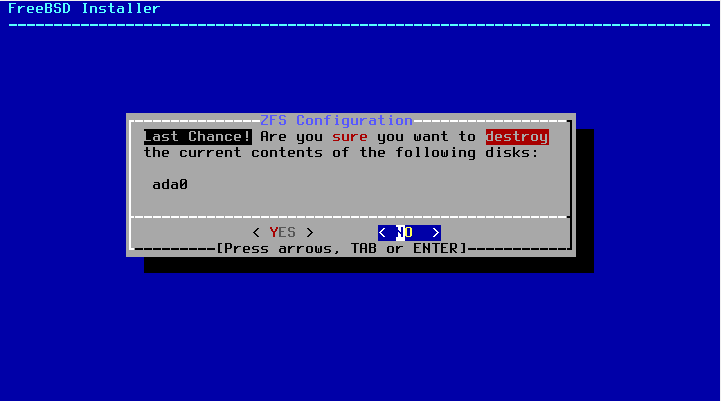
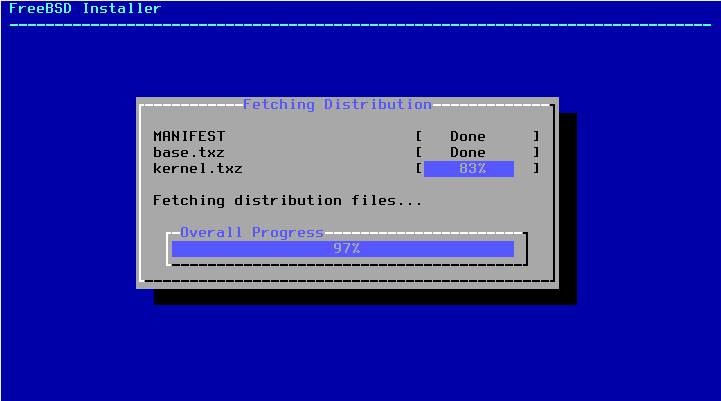
We confirm the previous option and we will see the progress more or less like this:
Set password for root user
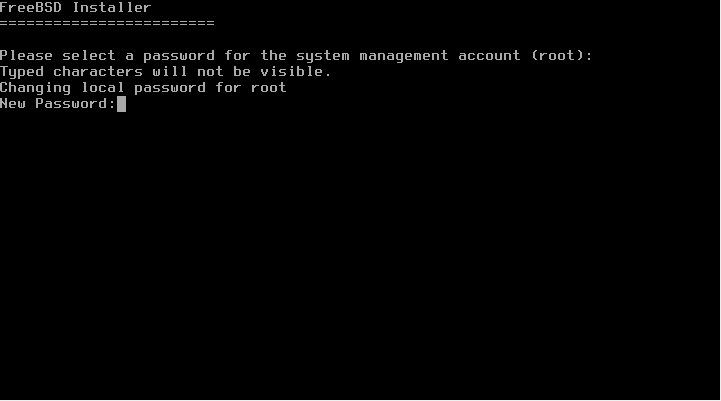
As in all Unix-like systems, the "administrator" user, or the user who has complete control over the system, is called root . At this point, we'll set its password.
Type the password you want to assign to the root user (don't worry if you see that it is not typing).
You press the Enter key .
You repeat the key you entered previously to confirm.
You press the Enter key .
Network Configuration
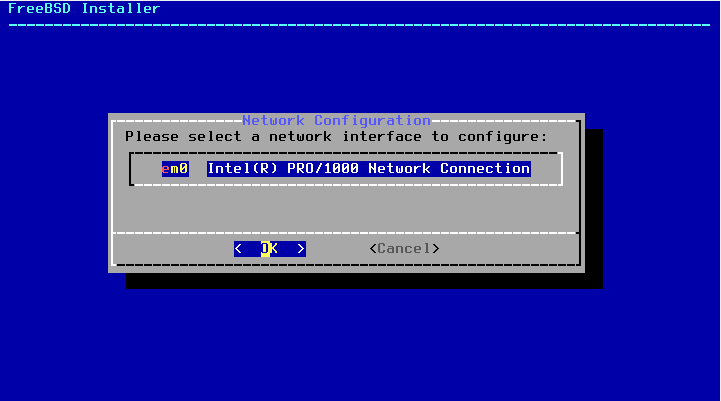
At this point, the installer will allow us to select the network interface through which we will connect to the network. Select the desired one and continue.
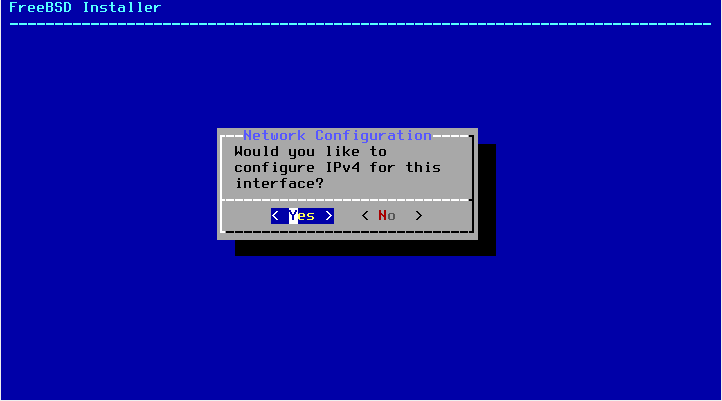
Here the installer asks us if we want to configure IPv4 for this interface. For the purposes of this example, we will select the Yes option to proceed with configuring it.
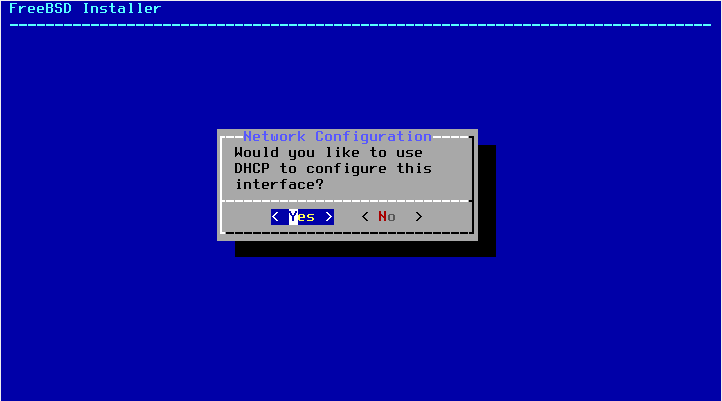
In the vast majority of cases, both in corporate and home networks, there's likely already a DHCP server on the network (at home, usually through the internet service provider's modem). So, we'll select the Yes option .
If all goes well, settings such as the device's IP address, default network gateway, and DNS servers should be configured automatically. If not, you'll need to enter these details manually, and the installer will let you know.
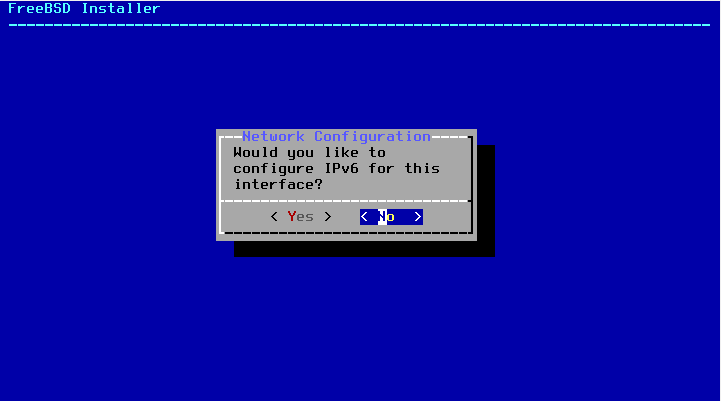
Here the installer asks us if we want to configure IPv6 for this interface, for the purposes of this example we will select the No option and continue.
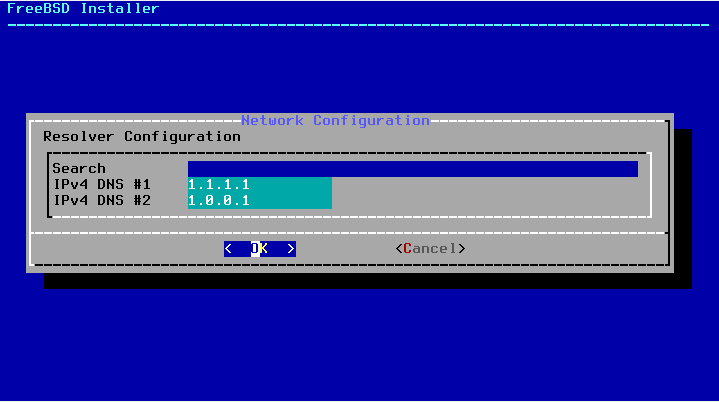
Here we will enter the settings for the DNS servers we want to use to resolve network and internet names.
If the DHCP configuration was previously executed successfully, you probably already have these fields filled out.
In this example, I'm overriding those values to use Cloudflare 's DNS servers , but you can use whatever you think is relevant. If you have any questions, you can leave the ones you initially selected.
Note: I am leaving the search field empty on purpose since it does not apply to this example.
Time zone settings
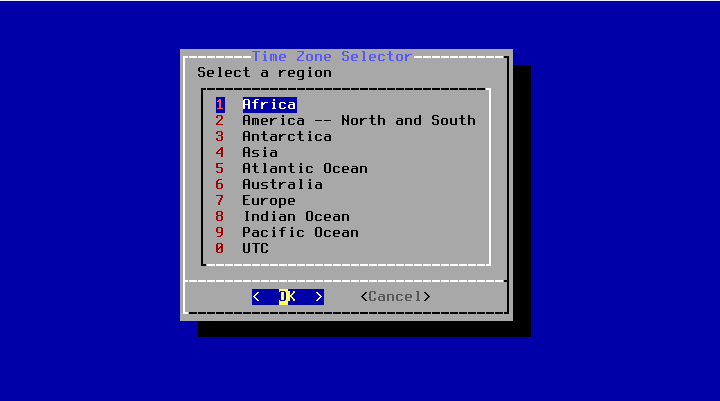
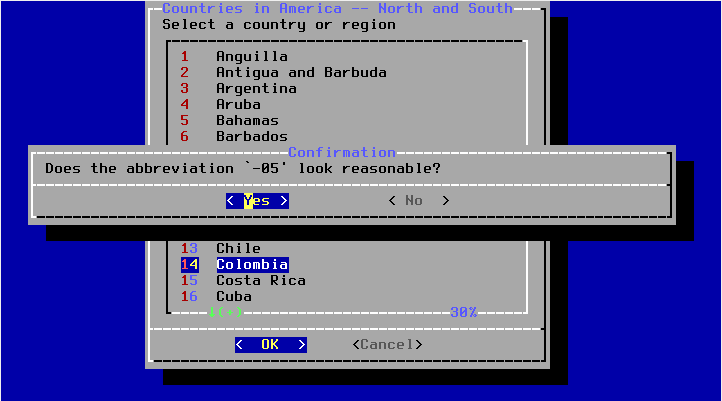
In this screenshot, you need to select the continent and then the country where this computer will be located (or at least its users if it's a remote computer) so that the corresponding time zone is set. Since this step should be fairly obvious, I won't go into detail here. When you select the country, it should look something like this:
Date and time
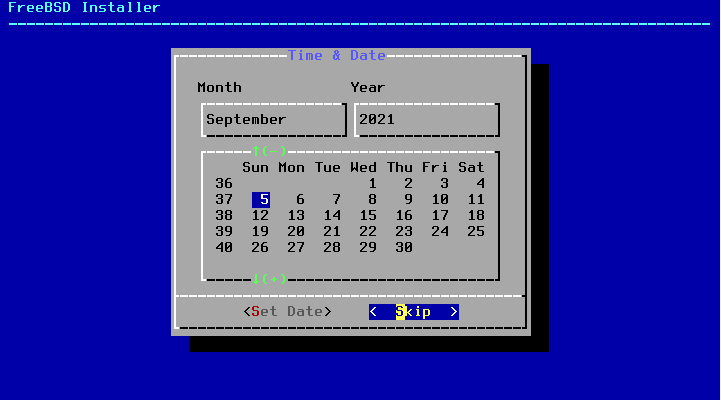
If the date is correct, we continue leaving the skip option checked , otherwise we must select the Set Date option to specify the day, month and year.
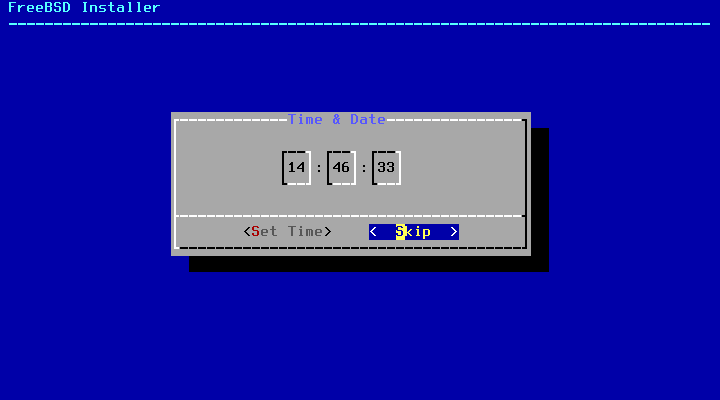
If the time is correct, we continue leaving the skip option checked , otherwise we must select the Set Time option to specify the corresponding time in 24-hour format.
System Configuration
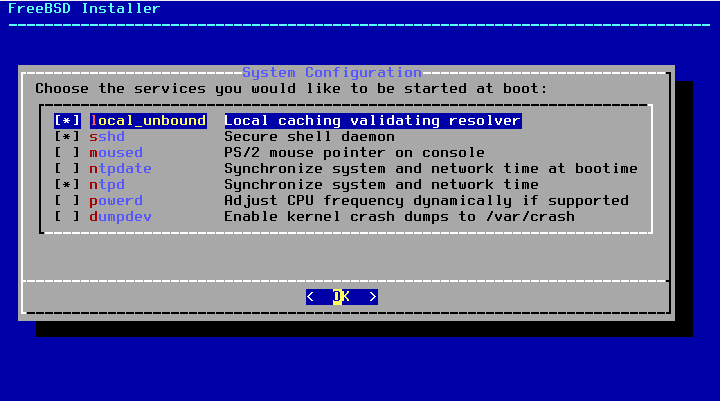
At this point, we'll be able to select which services we want to enable ( daemons in system terms). This list doesn't include all of them, but it does include some important ones. I'll mention the three I've selected:
local_unbound : I usually install this because it greatly improves the perceived speed of connections. This service enables a local DNS server, so queries will be made first to the machine and then to external servers if the records aren't there.
sshd : If there's one ubiquitous service, this could be it, especially on servers. This service allows us to connect securely and remotely to our equipment.
ntpd : Frequently synchronizes the computer's time and date with NTP servers . It's important that your computer or server always has the correct date and time settings, as SSL certificate validation errors can sometimes occur due to improper time synchronization.
powerd : I always enable this option, especially when installing on a laptop. It's very useful because it regulates the CPU frequency, helping to consume less power when the computer is running solely on battery power.
Security settings
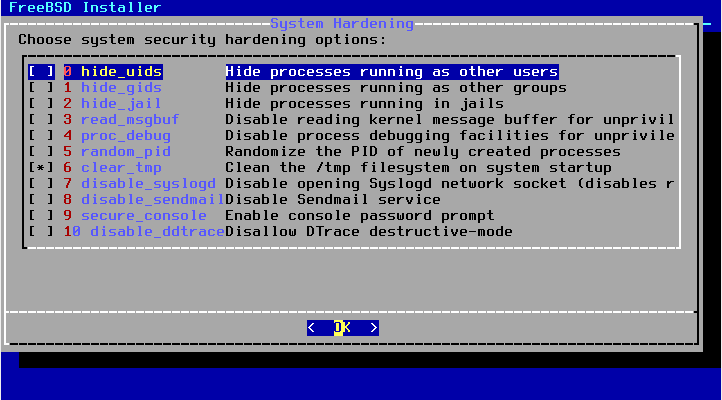
This is a good screenshot for the paranoid. Carefully analyze which of the options listed here might be useful for your use case. If you're installing a computer or server that will be used by multiple users, it may be worth having the first three options enabled not only for security but also for privacy.
Aside from mentioning those first three, I'd like to mention the clear_tmp option , which empties the directory /tmpevery time the system boots. Some may debate whether this is truly a security option or not; I simply find it convenient in any case.
Note: If you're not sure which ones to enable and this is your first time using the system, then leave them alone; this will make learning easier. These options can also be enabled or disabled after installation.
Add users
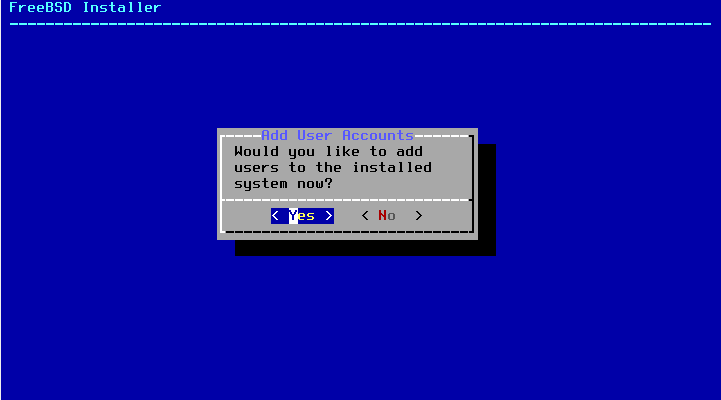
Here, the installer will allow us to add users to the system. For the purposes of this example and as a general recommendation, we'll add at least one standard user. In this case, user juan. All we have to do is answer the questions the wizard prompts.
The options that appear in brackets [ ]are the ones that the wizard will use by default if we do not indicate or write anything.
At the end you can see something like this:
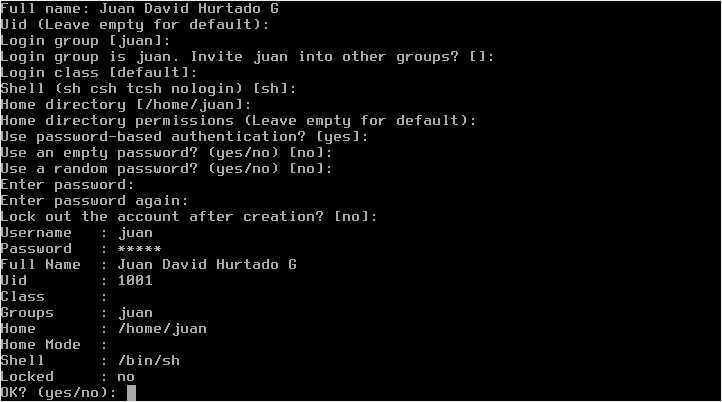
Once the first user is created, the wizard will ask if you want to add more users, and you can repeat the process if necessary. For this example, we'll only add one user.

Finish
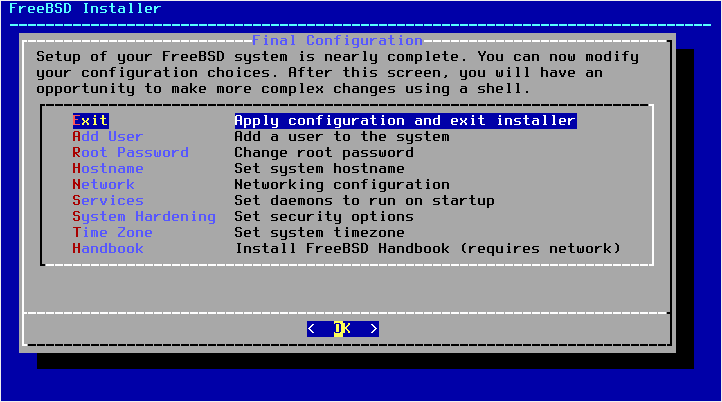
The installer will present us with a final screen where we can make changes to the options we've already configured. Here, simply leave the Exit option selected to complete the installation and proceed to reboot the system and log into our newly installed FreeBSD.
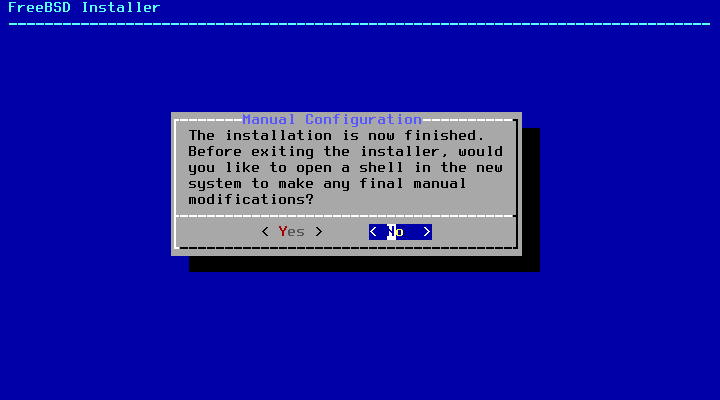

Make sure to remove the installation media so that when you reboot, the system can boot from the hard drive with the new system installed:
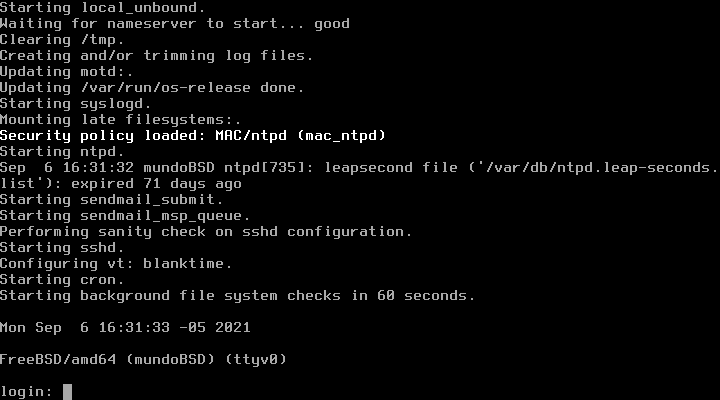
And that's it. In future installments, we'll be able to see some initial tasks to execute on the system, or even how to install a graphical environment to use the system as our work computer.
What do you want to do now? What new project do you want to undertake?
Leave your comments and share the knowledge


0 commenti:
Post a Comment